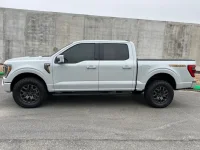
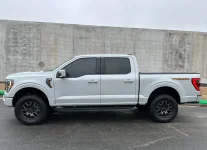
Finished my running board lighting project.
This started as just stranded running board lighting intended to illuminate the ground.
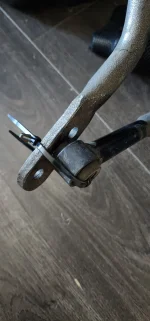
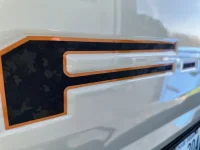
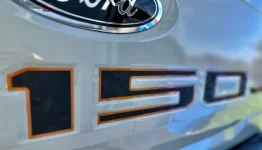
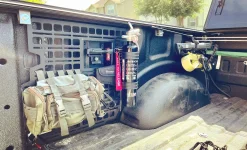
But I was contacted by someone what was making backing plates for our steps that you can paint whatever color you want and see the color through the steps. I had mine pained tremor orange(thanks @cranberry for the paint code).
View attachment 18885
I do like this detail in the daytime. As far as dirt accumulating in the steps, the ends are open and so far stuff washes out pretty easy. I also have noticed less stuff kicked up along the door panels from the road.
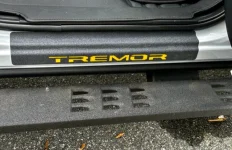
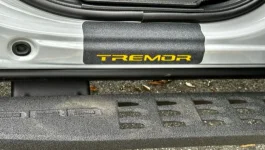
Once I saw these and how they installed, I got to thinking about my step lighting. I didn’t really want the full up underglow look and thought it would be neat for the steps to light up. So I mounted my sidekick running board lights from Opt7 lighting inside the steps. And this is the result! The way it lights up the door sille scuff labels was an awesome surprise.
View attachment 18888View attachment 18889View attachment 18890